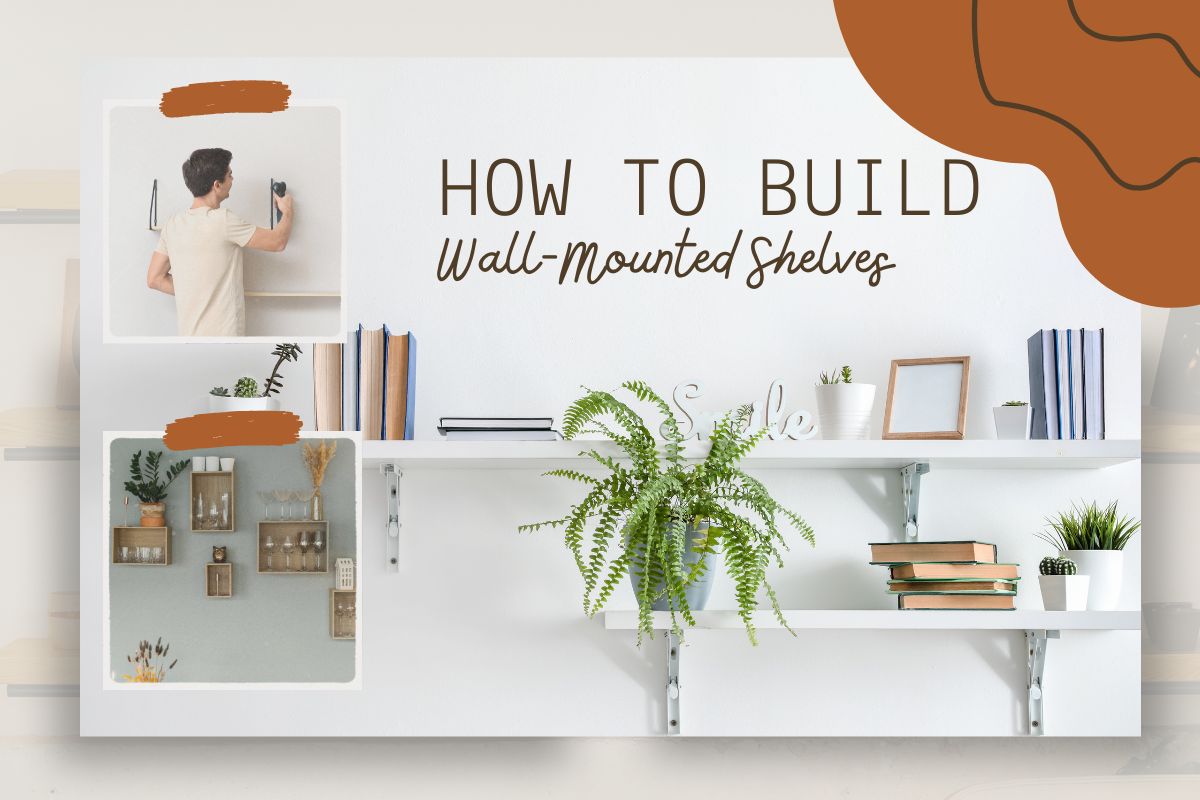
I messed up my first shelf installation badly. Three wonky holes in the wall, one shelf that tilted like a sinking ship. My wife still brings it up at dinner parties. But after fixing that disaster and installing about twenty more shelves over the years, I’ve learned what actually works.
Here’s how to build wall-mounted shelves step-by-step without making the same mistakes I did.
Get Your Tools Ready
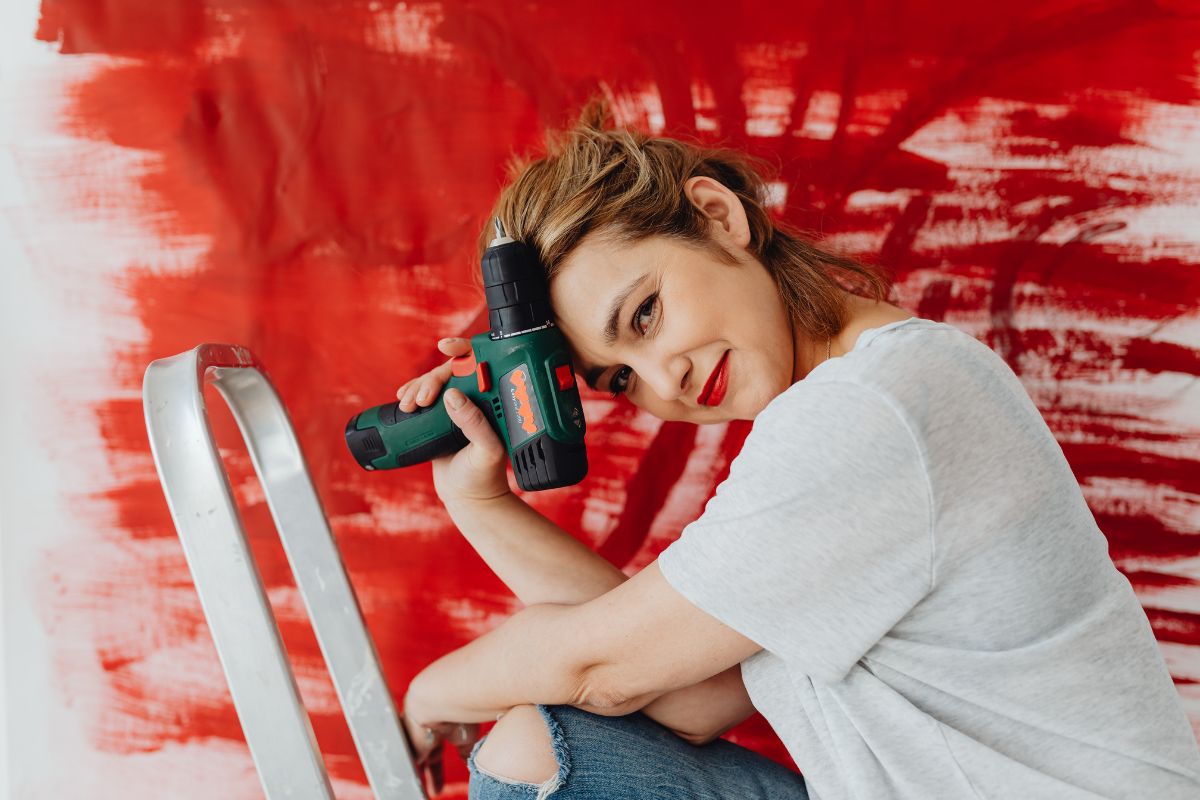
You will require a drill, spirit level, tape measure and pencil as well as a stud finder. The stud finder is really important. Wall studs are the wooden beams behind your plasterboard. If you screw into them, your shelves stay up. Miss them, and you might wake up to a crash at 2 am.
For the mounting bits, you’ll need your brackets or floating shelf supports, some screws (3.5 inches is a good length), and wall anchors for places where you can’t find a stud. Toggle bolts are great for plasterboard walls if you’re putting up heavier stuff.
Also read: where is the everest mountain located
Think Before You Drill
This is where most people go wrong. They just start making holes without planning.
Hold the shelf against the wall first. Does it look right? Will you smack your head on it? Is there a light switch in the way? Move it around until it feels right.
Also, think about what’s going on the shelf. A few books and a plant? Basic brackets are fine. Heavy cookbooks or your collection of pottery? You need stronger mounting. Recent guides say floating shelves can hold about 45 to 50 pounds per wall stud. That’s useful to know.
Find the Wall Studs
Run your stud finder across the wall where you want the shelf. Most houses have studs every 16 inches or thereabouts. Mark them with light pencil marks.
No stud where you need one? That’s fine. Get some proper wall anchors. Toggle bolts work really well in plasterboard. They spread the weight out so your shelf doesn’t end up crooked.
How to Actually Install Them
Right, let’s get to the actual work.
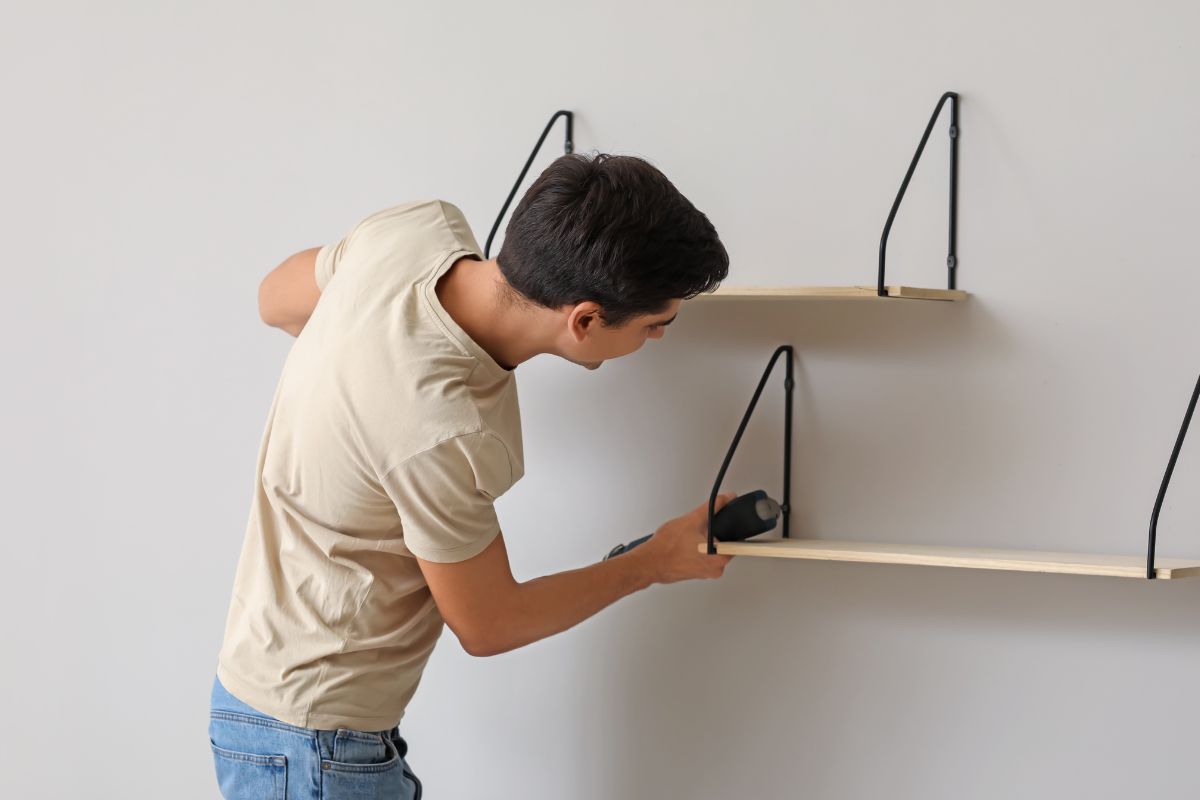
If you’re using regular brackets:
Hold the first bracket on the wall at the height you want. Put your spirit level on it. Make sure it’s straight. Even slightly off looks terrible once the shelf is up. Mark where the screw holes go.
Found a stud? Great. Drill a small pilot hole first so the wood doesn’t split. Then put your screw in. Using wall anchors instead? Drill the hole based on what the anchor packet says, push the anchor in, then add the screw.
After the first bracket is solid, measure across for the second one. Check with your level again. A sloping shelf looks ridiculous.
When both brackets are up, put your shelf on top. Some brackets let you screw up through the bottom into the shelf. Do that if you can because it stops the shelf from sliding around.
If you want floating shelves:
People always ask me how to install floating shelves without brackets. The secret is metal rods or rails that hide inside the shelf. You can’t see them once it’s up, which looks really clean.
These need to be spot on. Try to drill into at least two studs. Three is better for longer shelves. Mark exactly where the rods need to go, drill your pilot holes, and screw those support brackets in tight.
The shelf itself needs matching holes drilled in the back. Measure twice before you drill. Actually, measure three times. I’ve ruined shelves by rushing this bit.
Different Walls Need Different Approaches
Standard plasterboard needs studs or good anchors. Plasterboard alone won’t hold much weight.
Brick walls need masonry drill bits. Sometimes you need a hammer drill too. When you’re working out how to build a wall shelf out of wood on brick, use masonry anchors. Drill into the brick, not the mortar between bricks. It’s much stronger.
Old houses with plaster over lath are tricky. The plaster is thick but can crumble. Go slow and use decent anchors.
Make It Look Good
Step back when you’re done and check if it looks level. If something seems off, it probably is. Fix it now because a wonky shelf will annoy you forever.
Sand wooden shelves and add some wood conditioner, then stain or paint them. Even cheap pine looks good with a proper finish.
Don’t pile everything on straight away. Add weight slowly and see how the shelf handles it. Better to test it now than when your gran’s antique vase is sitting there.
Mistakes I’ve Made (So You Don’t Have To)
- Tried to find studs by knocking on the wall and listening. Didn’t work. Use the stud finder.
- Overtightened screws in plasterboard once. Just stripped out the holes completely. Gentle does it.
- Trusted my eyes instead of using a level. My eyes lied. Use the level.
- Forgot that weight adds up fast. Three books weigh nothing. Thirty books weigh a lot.
Also read: UK Immigration Just Got Harder: Here’s What Changed in 2025
How to Build Wall-Mounted Shelves Step-by-Step Comes Down to This
You must have the right tools and some patience, and you need to actually measure things. It’s possible your first shelf won’t be perfect. Mine wasn’t. But it does work! And each time you do it, you get a little bit better.
It is so nice to be able to look back and see shelves you put up yourself. You walk past them and think, “I did that.” And when they don’t fall down (they won’t if you follow this), you’ll feel pretty pleased with yourself.
If you’re doing something complicated like how to build wall shelves without brackets for really heavy loads, or you’re dealing with a weird wall material, it’s okay to get someone else to do it. No shame in that.
How to build shelves on a wall is actually pretty simple once you know the basics. Get your drill, find those studs, take your time with the measurements, and you’ll be fine.
A DIY floating shelf design looks fancy but follows the same rules: measure carefully, drill straight, use good fixings and check everything is level. That’s really all there is to it.